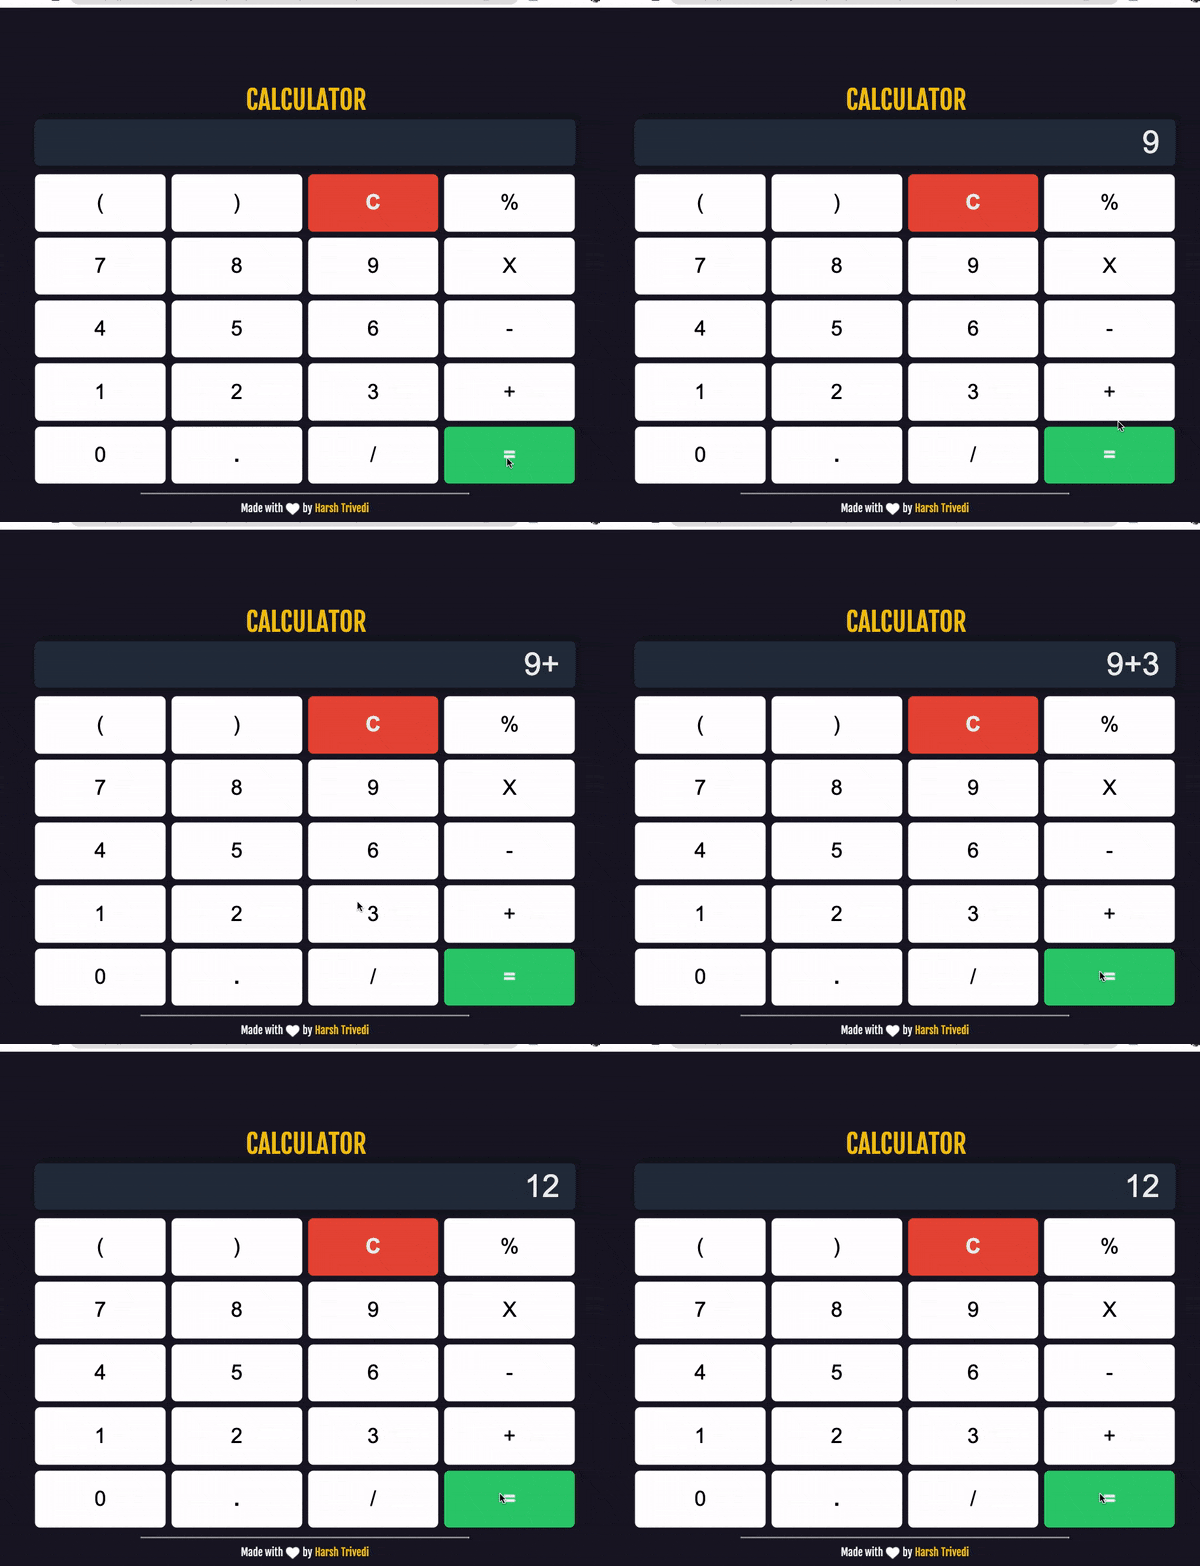
Aah calculators! The invention that has saved civilisation hours upon hours of trying to do complex mathematics. Just press a few buttons and bam! The result is right there before your eyes. If you're learning a programming language, a calculator is an interesting project to get involved with, because it looks quite simple (after all, it's just addition, subtration, multiplication and division right?) but it can get deceivingly complicated, especially the user interface.
What not a lot of Javascript calculator projects do however is make the calculator accessible. For quite an interactive application like this one, some accessibility considerations need to be addressed and this is what we're doing in this post. Let's create a calculator in Javascript, but make it accessible!
🧮 The basic calculator app
If you're following along, this is the step where we create the basic calculator app. How you implement this is totally up to you. Because the purpose of this article isn't to show how a calculator app is made from scratch but to improve its accessibility, I've forked an already made calculator, created by Harsh Trivedi.
The calculator should have the basic functions:
- Addition
- Subtraction
- Multiplication
- Division
- An equals ("=") button
- A button to clear the calculator back to 0

♿️ Accessibility enhancements
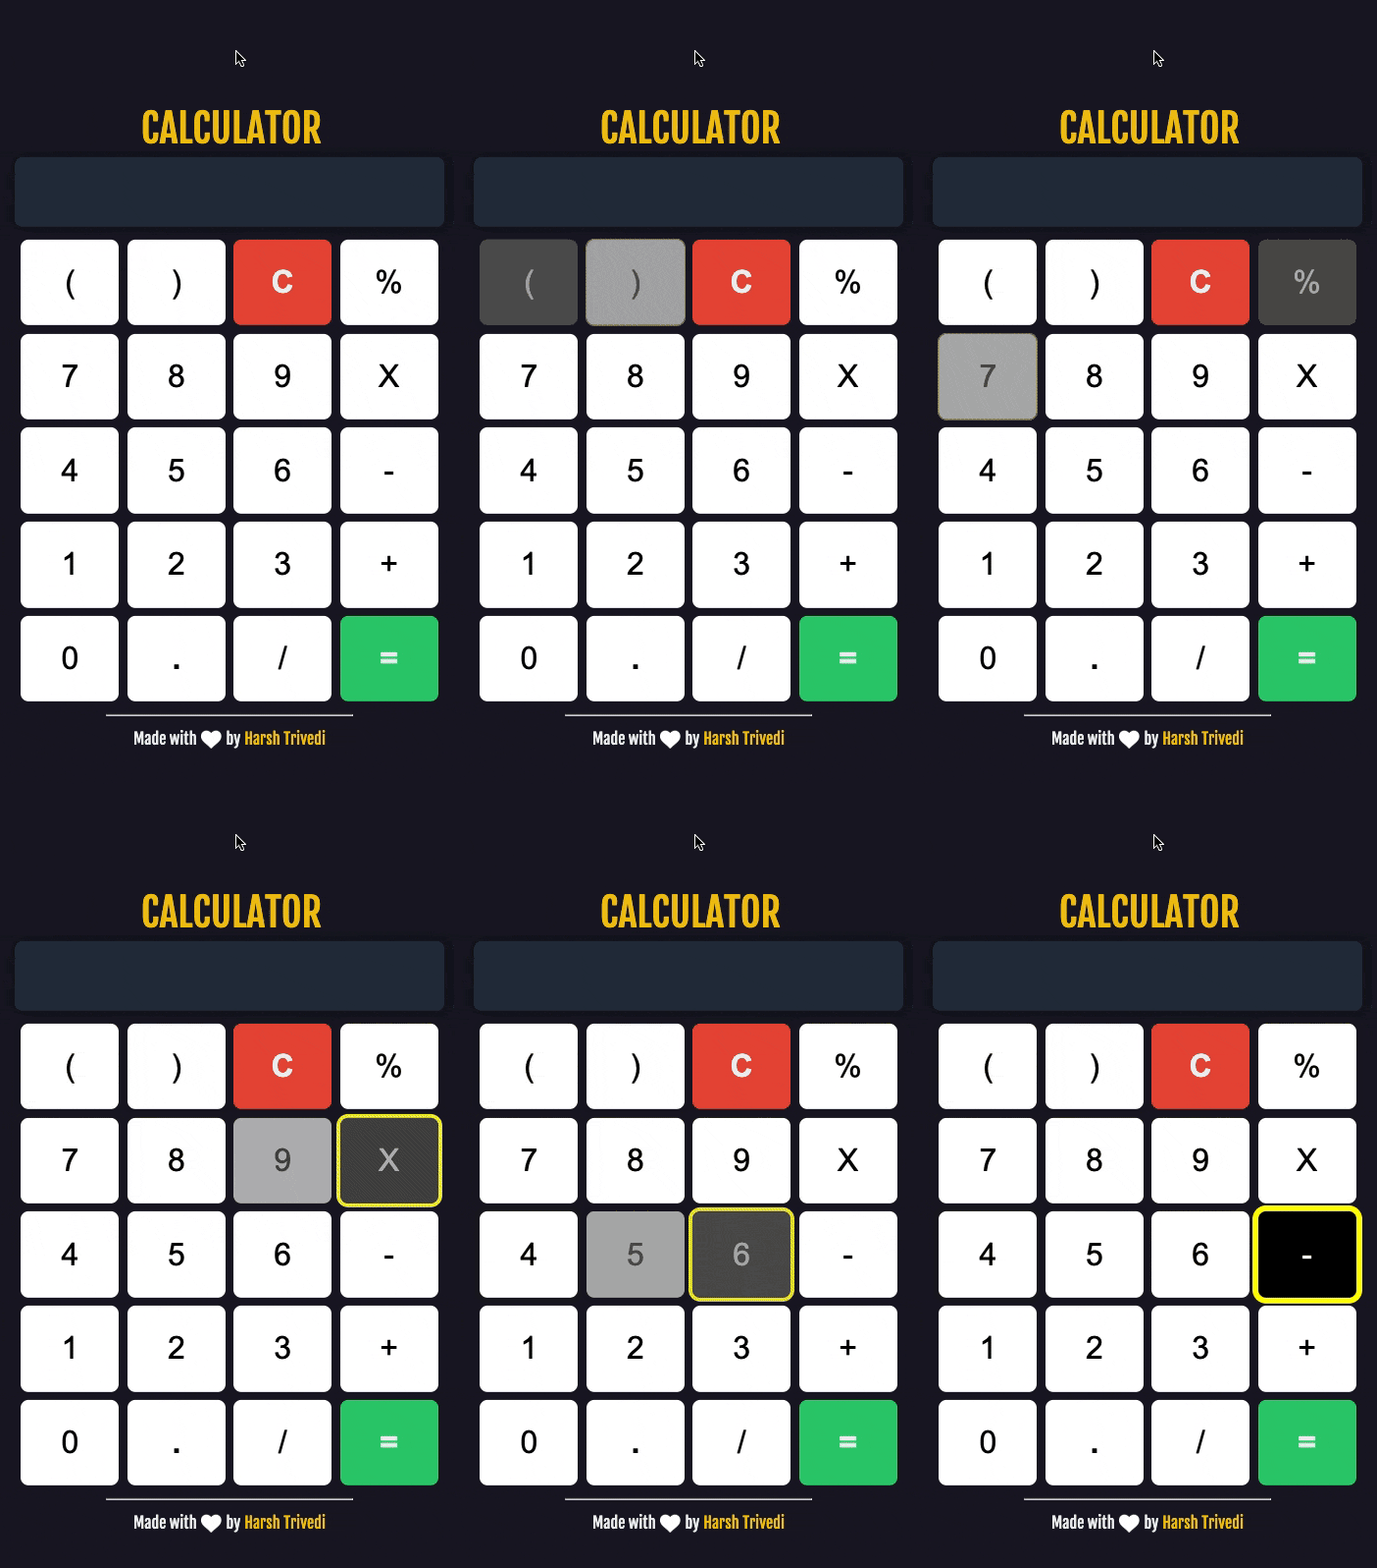
👁 1. Clear focus indicator
The first thing to do is to make sure your calculator has proper keyboard accessibility. One way to do this is to make sure that it's very clear that a button has the focus when navigating with a keyboard using the Tab key.

This can be done using the :focus selector in CSS. In this case, we set the outline of the focused button to yellow, the colour of the button to black and its text to white:
button:focus{
    outline: 6px solid yellow;
    background-color: black;
    color: white;
}
🧑💻 Check this code for the changes in our calculator
The next two improvements mainly have to do with screen reader accessibility.
⏹ 2. Improved button labels
All the buttons on the calculator work great, but there's one problem: the labels on some of the buttons are quite unclear of what they do.
Take the "C" button for example. It might make sense to some, but for screen reader users, this is how this button gets announced:
C. Button.
It's fairly unclear what this button is supposed to do or what it's for. Same for these buttons:
- "(" gets announced as "left parenthesis, button"
- ")" gets announced as "right parenthesis, button"
- "%" gets announced as "percent, button"
- "X" gets announced as "X, button"
- "-" gets announced as "hyphen, button"
- "+" gets announced as "plus, button"
- "/" gets announced as "slash, button"
- "=" gets announced as "equal, button"
We need a way to set these labels so that when they get the focus of the screen reader, it says the right name:
| Button | Name |
| C | Clear |
| ( | Open parenthesis |
| ) | Close parenthesis |
| % | Percentage sign |
| X | Times |
| - | Minus |
| + | Plus |
| / | Divide |
| = | Equals |
This can be done using the aria-label attribute.
📖 Learn more: ARIA Label, explained
For example, for the C button:
<button>C</button>
We can include a label like so:
<button aria-label="Clear">C</button>
Now if the screen reader needs to announce this button it will correctly announce it as such:
Clear, button
Follow the same procedure for the rest of the buttons.
🧑💻 Check this code for the changes in our calculator
✨ 3. Result announcer
When you click on the Equals (=) button, you expect the result to show up at the top of the calculator display. The problem with this is that a screen reader doesn't know that the display has actually changed unless you specifically tell it so. This is a problem that is common with interactive applications in general. When the display changes, nothing gets announced by the screen reader.
Which is why for the last enhancement to make our calculator more accessible, we are going to tell screen readers to immediately tell the user what the result of a calculation is. We are going to do this using an ARIA Live Region.
📖 Learn more: ARIA Live Regions, explained
The end result we want to achieve is, whenever the user clicks the Equals button, this gets announced to the user:
Result: 91
Firstly, let's create our announcer with HTML:
<div id="announcer" role="region" aria-live="assertive"></div>
And let's hide it with CSS:
#announcer{
    position: fixed;
    top: 100%;
}
Now let's create a Javascript function to trigger the announcer:
function announce(message){
    let announcer = document.querySelector("#announcer")
    announcer.innerHTML = message
}
Last step is to call announce() whenever the "=" button is clicked to announce the result:
function equalsButtonClickEvent(){
    // ...
    // Code to calculate result
    // ...

    // Announce result to the screen reader user:
    announce(`The result is ${currentResult}`)
}
Now the screen reader will tell the user what the result is every time the equals button is clicked:
The result is 10
🧑💻 Check this code for the changes in our calculator
😃 Conclusion
Whether you're following tutorials or completing courses on freeCodeCamp, a calculator is one of the project you'll likely create while learning HTML, CSS and Javascript. It's a great project, complex enough to show off your skills. What most of these tutorials omit however, is how to make the calculator accessible so that everyone can enjoy your creation. In this tutorial I've tried to show you how to make it accessible and inclusive. Let me know how you found it!

