

Let's create an accessible increment counter!

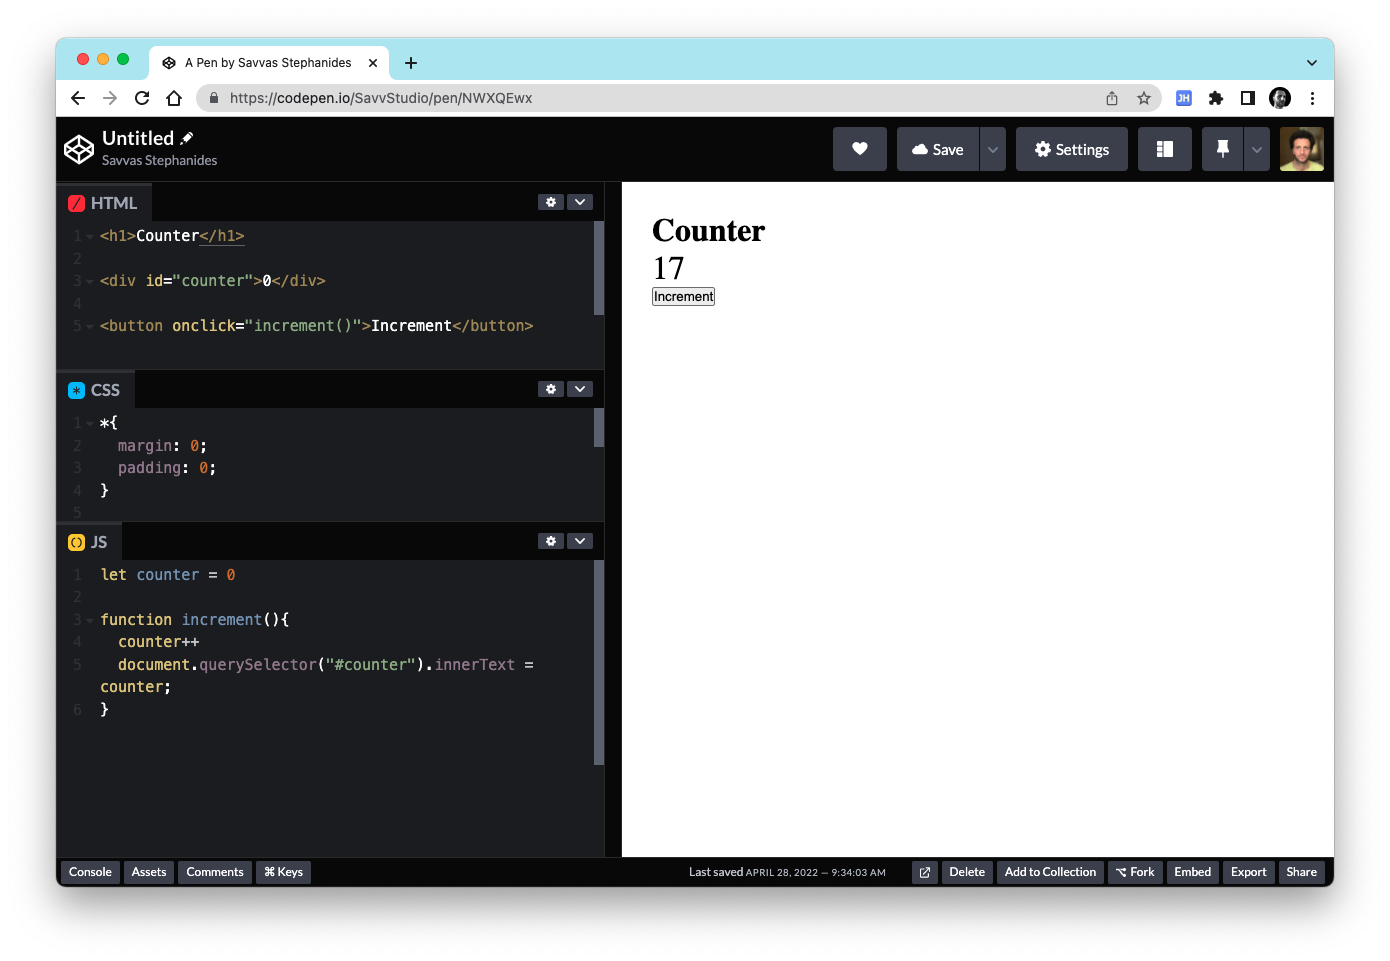
Look at this counter:

A simple straight forward app. If you want to create one by yourself, there's not much code involved. Initialise a counter variable to 0, and each time the button is clicked, increase the value of counter by 1 and show that on the screen. You don't even need a fancy framework to do it.
What is usually omitted however, is the things that can make the counter accessible. Mainly for screen readers. In this article I'll explain what I mean and show you how to create a counter app that's more accessible.
Let's go!
Basic app
To start off, let's begin by creating a basic Increment Counter app. It's going to be pretty simple with some basic elements:
- A heading
- A counter
- An increment button
Here's how the HTML looks:
<!-- The heading -->
<h1>Counter</h1>

<!-- The counter -->
<div id="counter">0</div>

<!-- The button -->
<button onclick="increment()">Increment</button>
Now let's turn our attention to the Javascript part. First we're going to initialise our counter and set it to 0:
let counter = 0
Now let's create a function which the Increment button will execute. The function will increment the counter by one and show the result on screen:
function increment(){
  counter++
  document.querySelector("#counter").innerText = counter
}
That is it! Seriously, that's the app. Of course you can update the CSS to make it fancier, like making the counter bigger:
#counter{
  font-size: 33px;
}
We'll talk more about how the app looks in the "Contrast" section below.
Accessibility enhancements
Now that we've made the app, let's spend some time to make it more accessible.
♿️ 1. Semantic HTML elements
As a first step, let's make use of some more semantic elements in our HTML, so that it's more properly structured.
To begin let's create a <header> element that includes our heading:
<header>
  <h1>Counter</h1>
</header>
Secondly, let's enclose the counter indicator and button in <section> elements:
<section>
  <div id="counter">0</div>
</section>

<section>
  <button onclick="increment()">Increment</button>
</section>
Now, an issue about <section>s is that each section should have a heading to be accessible, but that's not something I want to have visible in my app. So I'll add the headings, add a hidden class...
<section>
  <h2 class="hidden">Counter indicator</h2>
  <div id="counter">0</div>
</section>

<section>
  <h2 class="hidden">Actions</h2>
  <button onclick="increment()">Increment</button>
</section>
...and hide them with CSS:
.hidden {
  position: absolute;
  top: -9999px;
  left: -9999px;
}
As a final touch, let's surround the main part of the page in a <main> tag:
<header>
  <h1>Counter</h1>
</header>

<main>
  <section>
    <h2 class="hidden">Counter indicator</h2>
    <div id="counter">0</div>
  </section>

  <section>
    <h2 class="hidden">Actions</h2>
    <button onclick="increment()">Increment</button>
  </section>
</main>
♿️ 2. Contrast
Now let's give our counter app some personality with colour. To do this, we should take contrast into account so that everyone can see our content.
I got a colour scheme from ColourHunt for this.
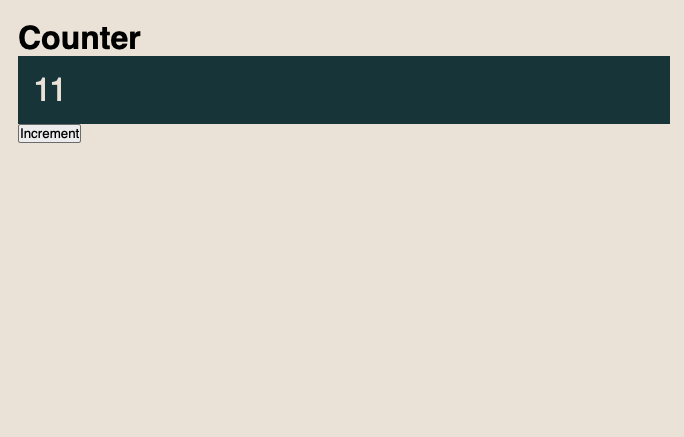
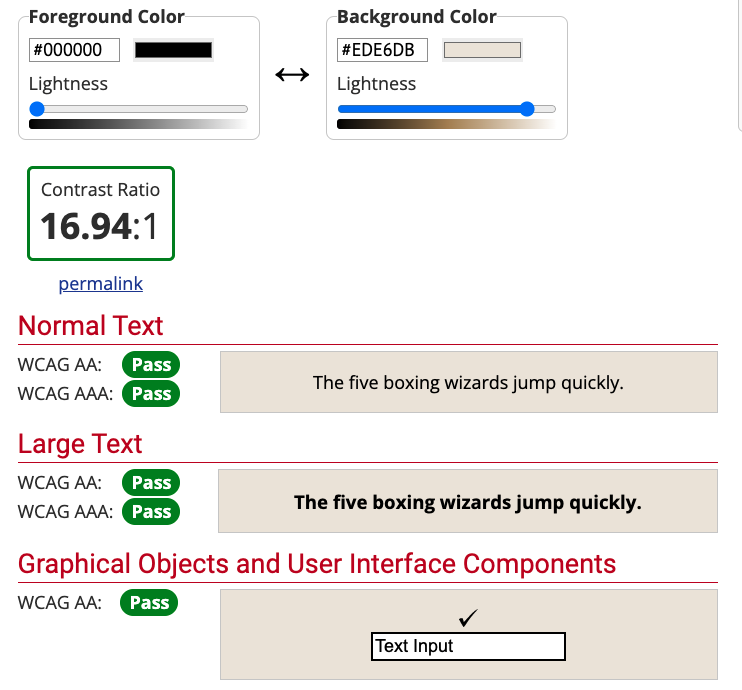
A quick check shows that the counter indicator text and background have sufficient contrast.

And so is the heading.
♿️ 3. Screen reader support
Is a simple increment counter app not screen reader accessible? Well, yes and no.
What is accessible is the fact the button is an actual <button> and not some repurposed <div> element. Also with the above changes with semantic HTML elements, a screen reader user knows where the header is and what each section does. So a lot of work has already been done to improve screen reader accessibility. But there's more we can do.
❓ Quiz time! What do you think a screen reader announces when the user clicks on the Increment button?
A. The screen reader announces the new incremented number
B. The screen reader announces that the number has changed
C. Nothing.
That's right. The answer is Nothing.
📹 Here's a video showing what VoiceOver announces to the user
Because the app is interactive, a screen reader user has no way of knowing what changes happen within a page once it has loaded. How can we fix this?
We can fix this with ARIA Live Regions!
What a Live Region essentially is, it's an element that we know it's going to change while our app is open, and we need the screen reader to know about this!
Let's update our counter indicator so that it becomes a Live Region:
<div id="counter" role="region" aria-live="assertive">0</div>
Notice that we've added two attributes to our counter:
role="region": this indicates to the screen reader that this element is a "region".aria-live="assertive": this indicates that this element is a "live" region. Theassertivepart indicates that the user must be informed immediately once a change happens to it.
Now if we run our app with a screen reader again, this will be announced every time the button is pressed:
One
Two
Three
etc...
📹 Here is a video demonstrating this in action
Enhance our announcer
But we can go further! Sure announcing "One", "Two" etc. is nice, but what if we could give a little more context? What if instead it announced "The counter is now at one", "the counter is now at two" etc?
We can do this with an "announcer" element!
An announcer element is just a <div> that it's a Live Region, whose sole purpose of existence is to announce stuff to the screen reader user. We can create it like this:
<div id="announcer" role="region" aria-live="assertive"></div>
To avoid confusion, remove the live region attributes from the counter element:
<div id="counter">0</div>
Now every time we need something announced to the user, we just update the element:
function increment(){
  counter++
  document.querySelector("#counter").innerHTML = counter;

  // 👇 Announce the new value
  document.querySelector("#announcer").innerText = `The counter has been set to ${counter}`
}
And the screen reader will read the new number to the user:
The counter has been set to 1
The counter has been set to 2
The counter has been set to 3
Much more clear and contextual! 🔥
📹 Here is a video showing this in action
Final code
As a summary, here's the final code (CodePen):
HTML:
<header>
  <h1>Counter</h1>
</header>

<main>
  <section>
    <h2 class="hidden">Counter indicator</h2>
    <div id="counter">0</div>
  </section>

  <section>
    <h2 class="hidden">Actions</h2>
    <button onclick="increment()">Increment</button>
  </section>
</main>

<div id="announcer" role="region" aria-live="assertive" class="hidden "></div>
CSS:
*{
  margin: 0;
  padding: 0;
  font-family: sans-serif;
}

body{
  margin: 30px;
}

#counter{
  font-size: 33px;
}

.hidden {
  position: absolute;
  top: -9999px;
  left: -9999px;
}

body{
  background-color: #EDE6DB;
}

#counter{
  background-color: #1A3C40;
  color: #EDE6DB;
  padding: 15px;
}
Javascript:
let counter = 0

function increment(){
  counter++
  document.querySelector("#counter").innerHTML = counter;
  document.querySelector("#announcer").innerText = `The counter has been set to ${counter}`
}
Conclusion
An increment counter is a useful tool and a simple app to build. This makes it simple to make the app more accessible, thus understand more about accessibility. I hope these enhancements make sense. What more would you do?


